So, you took the plunge! Your awesome new 98” TV is there in all its glory! Big and Beautiful. You’re in your favorite seat, about 10’ away and ready to rock! Let’s get to watching!
But you see and hear all sorts of things from your salesperson, tech reviewers, and online testimonials, about how you may want to “make the picture your own.” What does that mean and how do you do it?
At first glance, the number of on-screen settings can be a bit daunting. But there are ways we have made it simple, or ways you can really dive, even if you haven’t caught the “AV Enthusiast Bug.” (I’ve been afflicted for decades…not cure in sight!)
What follows is a quick explanation of some of the best ways to make impactful changes to your picture. There are more, of course. My biggest piece of advice: play with it! This should be fun! Worst case, there is always a “reset” to any adjustment you make to bring it back to the factory settings.
There’s a picture mode for that
One of the quickest and easiest ways to tailor the picture based on what you are watching and based on your viewing environment is with the Picture presets.
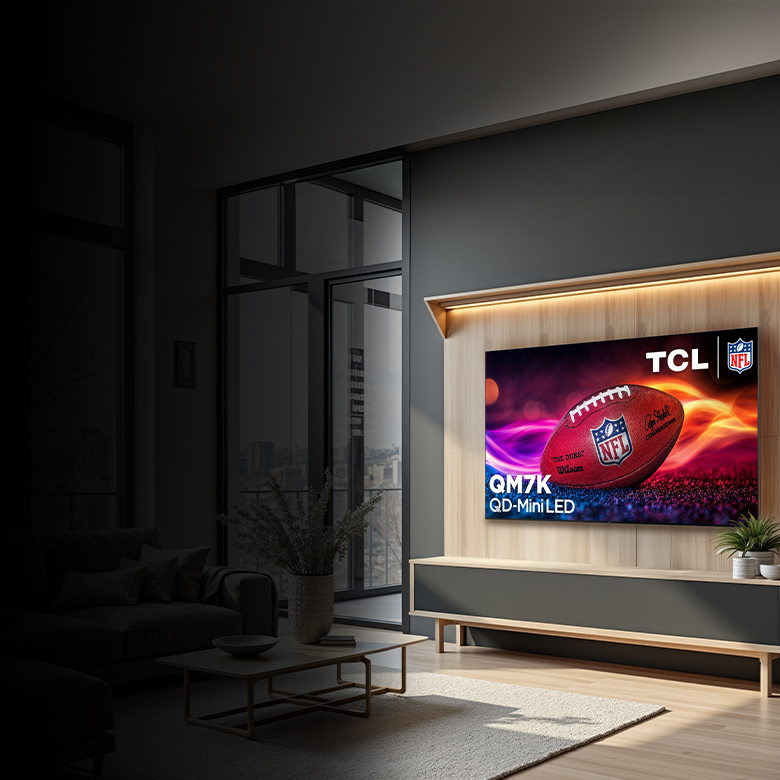
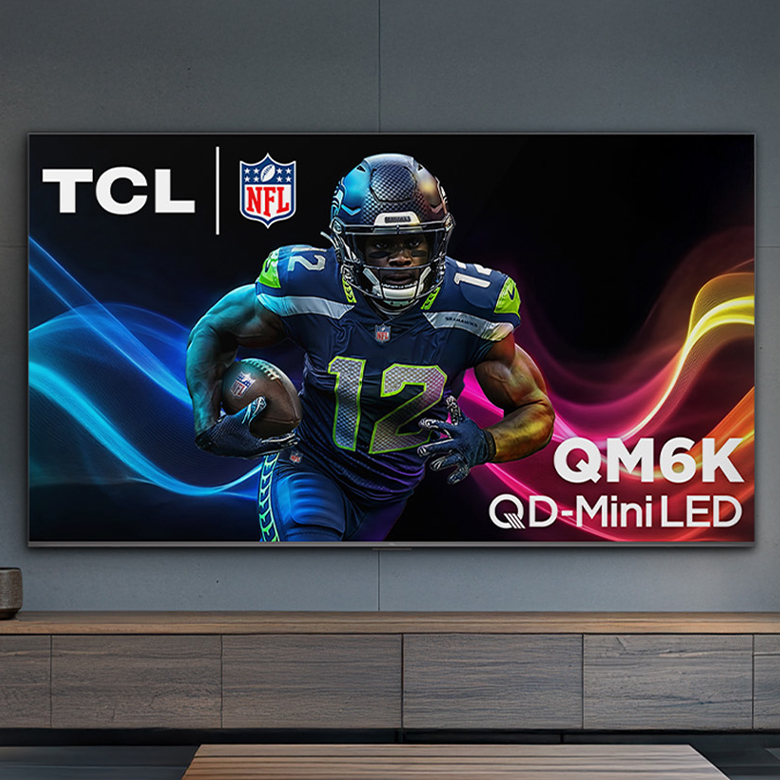
In seconds, you can choose presets with self-explanatory names such as Sports, Movie, and Vivid.
Watching a Movie, tech reviewers will tell you this is the most “accurate mode.” A little softer and dimmer, assuming you are watching a movie at night. Sports “turns everything to 11” to account for vibrant stadium colors and fast sports action. Even entering Game Mode disables some of the internal processing, ensuring blistering-fast response time when you need it most!
Next-level picture adjustment
As helpful as these picture presets can be many viewers, there are ways to make adjustments that can better fit your individual taste.
Although not entirely complete, here is a list of some of the most often “tinkered with” settings that can take your picture from “great” to “WOW!”
- Intelligent Settings – This setting allows the TV to use things like the built-in ambient light sensor, as well as the ability to recognize the incoming signal to automatically make the picture look great. Binging you favorite new show from 2:00 PM until bedtime? With Adaptive Brightness, the TV will gradually—and to my eye, imperceptibly—lower the brightness so it’s always comfortable to watch.
- Advance settings – This setting opens a series of granular controls that the enthusiast will love!
- Brightness Settings – Here’s where you can find various settings to adjust the white and black levels of the screen, adjust the local dimming (my advice, make sure that’s on high!), as well as numerous software-based brightness and contrast levels.
- HIDDEN GEM: Gamma – This lets you tailor how aggressively the TV transitions from black to white. With it, you can do things like bring out more detail in shadow areas and see more of the elements in extremely bright scenes, like drawing out the topography of snow-covered mountain peaks.
- Color – This lets you tweak color level, tint, and Dynamic color to your taste.
- HIDDEN GEM: Color Temp – This lets you have the whites look “cool” or more blueish, or “warm” where they will be a bit creamier, based on what you are watching and what you like.
- Clarity – Lets you set the detail level with things like sharpness, various noise reduction settings.
- HIDDEN GEM: Gradation Clear – This really smooths out the transitions in colors (picture the brightness differences in a setting sun or panning around underwater) and eliminates the banding seen in lower quality content.
- Motion – This is a sticky topic debated by everyone, from enthusiasts to Tom Cruise. The same “soap opera effect” that makes enthusiasts recoil in horror is the same feature that draws customers to certain TVs on display in stores like a moth to a flame... It’s that surreal, “super-smooth” or “hyper-realistic” look that can be adjusted or eliminated here with Blur Reduction and Judder Reduction.
- HIDDEN GEM: Clear LED Motion – This performs a “black frame insertion,” which puts a black screen, super-super-super quickly in between frames of content. This, although it lowers the brightness of the TV slightly, really “crisps up” the picture. It can make regular TV look a little weird, but I love it as a gaming feature. Check it out!
Dialing in the perfect picture
That’s a quick primer but some last things to look at are the fact that when you are in Movie mode, and you adjust things, you are only changing Movie mode, not Sports or Game mode.
Also, you have the choice to apply these settings to just the input you are currently using or to every input. There are also Expert Settings, which are there for when you become engrossed enough in this that you want to have someone break out their measuring equipment and computer software to perform an expert calibration.
And remember, on all the settings, there is a “Restore Defaults” option, so if you are having fun playing with everything, and you end up making the picture wonky, you can get back to the factory starting point. So go explore! Between all the possible settings, there are over 14 nonillion (a 14 with 30 zeroes after it…) combinations of adjustments.
Go find them all!

share